Welcome to our comprehensive guide on building a Do It Yourself (DIY) pickleball court. Whether you are an experienced player looking to create a personal haven for the sport or a newcomer seeking to foster a love for the game, constructing your own pickleball court can be an immensely rewarding experience. In this blog post, we will explore the necessary steps, materials, and considerations for crafting a court tailored to meet your specific needs, ensuring that you are well-equipped with the knowledge to bring your vision for the perfect pickleball court to life.
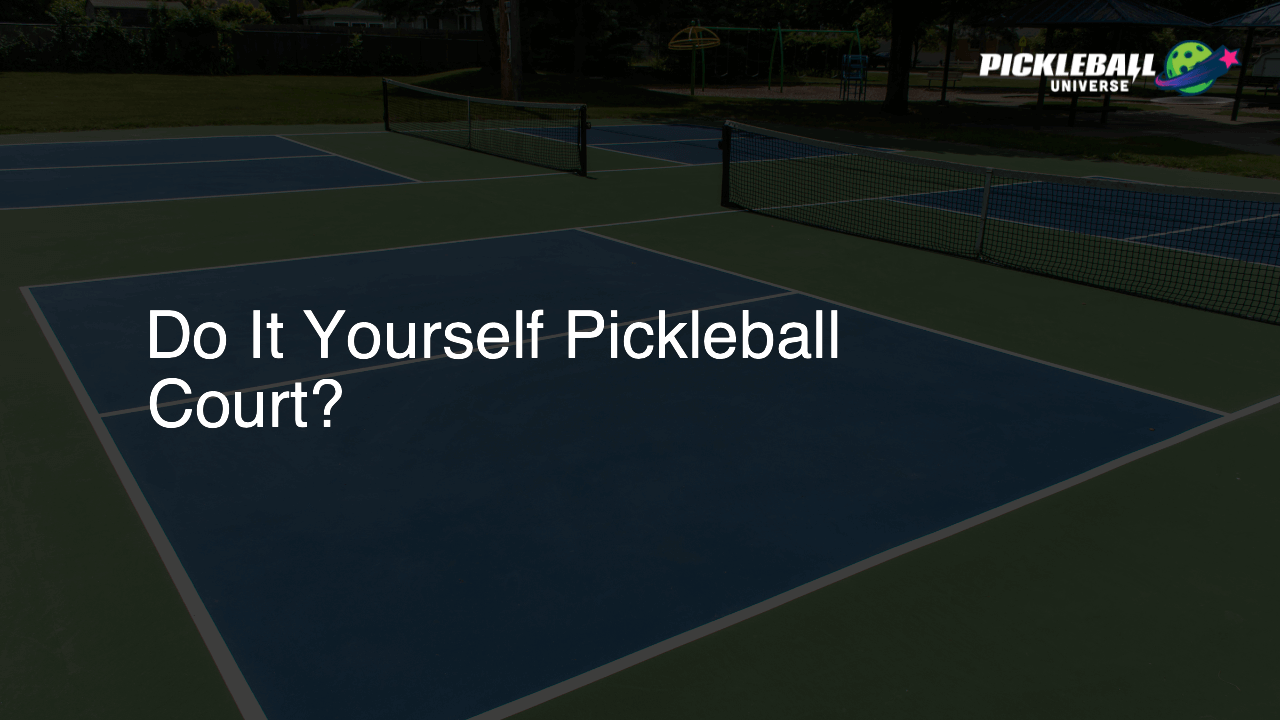
Do It Yourself Pickleball Court?
A DIY pickleball court is a self-made playing area for the sport of pickleball. It involves measuring, planning, and organizing the necessary materials and equipment, followed by the construction and painting of the court. By building a pickleball court yourself, you can customize the dimensions, location, and surface to suit your personal preferences and available space.
Why Build a DIY Pickleball Court?
The concept of a DIY pickleball court stems from the desire to have easy access to the sport without needing to rely on public or paid facilities. By creating your own court, you benefit from both the convenience of playing anytime you wish, as well as the opportunity to customize your playing experience. Providing ample information and guidance, this blog post will help turn your pickleball court dreams into reality, with detailed explanations of the process, useful tips, and necessary precautions.
Assessing Your Space and Location
Measurements and Dimensions
Before beginning construction, it’s essential to assess the available space and determine if it is suitable for building a pickleball court. A standard pickleball court is 44 feet long and 20 feet wide (inclusive of a 2-foot perimeter around the court). If possible, allow for some extra space around the court to accommodate player movement, spectators, and fencing or net posts.
Surface Level and Drainage
Ensure that the selected location is level, since uneven surfaces can lead to inaccurate game play and potential accidents. A slight slope (1% grade) can be beneficial for drainage purposes, helping to keep the court free of water and debris during rainfall. The slope should descend lengthwise from one end to another, with the high side having a height difference of no more than 6 inches compared to the low side.
Orientation and Sunlight
Orienting the court in a north-south direction can help minimize the impact of sun glare and shadows for players. East-west orientation may lead to one player facing direct sunlight at certain times of the day, which could hinder their performance and overall enjoyment. It’s also a good idea to consider placing the court away from nearby trees or structures that might cast excessive shade or create potential hazards.
Planning Your DIY Pickleball Court
Permits and Zoning Laws
Before embarking on your DIY pickleball court project, confirm that you have the necessary permits and are in compliance with any zoning laws or property restrictions. Check with your local city or county officials to determine whether you need to submit an application or obtain special permissions.
Materials and Equipment
Make a comprehensive list of materials and equipment you’ll need. Some essential items for building a pickleball court include:
- Measuring tape and marking paint
- Surface material (asphalt, concrete, or interlocking tiles)
- Drainage materials (if required)
- Paint or tape for striping lines
- Portable or permanent nets and posts
- Fencing or barriers
- Lighting (optional)
Gather these materials in advance to prevent delays during your construction process.
Constructing Your DIY Pickleball Court
Excavation and Sub-base Preparation
Begin by excavating the area to a depth of 4-6 inches to allow for the necessary sub-base installation. Ensure that the sub-base is level and compact before proceeding with the installation of the surface material. If drainage is a concern, consider using a layer of crushed stone as a sub-base followed by a layer of permeable fabric to keep the stone in place.
Surface Choices and Installation
There are three commonly used surface materials for pickleball courts: asphalt, concrete, and interlocking tiles. Concrete usually offers better drainage and durability compared to asphalt. Meanwhile, interlocking tiles provide the easiest DIY installation and can even adapt to existing flat surfaces.
Regardless of the surface material chosen, proper installation is key to a long-lasting court. For asphalt or concrete courts, it’s strongly recommended to hire a qualified professional to ensure a smooth, level playing surface. For tile courts, follow the manufacturer’s guidelines for proper installation.
Applying Court Lines and Stripes
Mark the boundaries, non-volley zones, and service boxes with accurate measurements. Use a measuring tape and marking paint to outline these areas before applying the final lines using either paint or tape designed specifically for court markings. This not only lends an air of professionalism to your court but also allows for accurate and fair gameplay.
Installing the Net and Posts
Install either a portable or permanent net system according to your preferences and intended usage. Remember that a regulation pickleball net should be 36 inches tall at the sidelines and 34 inches tall at the center. When installing permanent posts, ensure they are set at a distance of at least 22 feet apart, with a 2-foot clearance beyond the court width.
Finalizing Your DIY Pickleball Court
Adding Fencing and Barriers
To effectively contain the pickleballs and ensure player safety, consider adding fencing or barriers around your court. This not only helps prevent balls from straying too far but also could act as a psychological barrier to keep players focused on the court. Materials commonly used for fences include wood, chain-link, and vinyl.
Considering Court Lighting
If you intend to play during evening hours, installing proper lighting can significantly enhance the experience for all players. The ideal lighting setup should provide even illumination across the court while minimizing shadows and glare. LED lights are an eco-friendly and energy-efficient option to provide adequate illumination.
Performing Regular Maintenance
To maintain your DIY pickleball court in prime condition, perform regular maintenance. This includes cleaning the surface, checking for cracks, and repainting lines as needed. Properly maintaining your court will extend its longevity and provide a consistently enjoyable playing experience.
Additional Features and Enhancements
Seating Areas and Shade
Add benches, chairs, or bleachers to provide seating for players and spectators. If your court is located in a sunny area, consider incorporating shade elements such as patio umbrellas, pergolas, or shade sails to protect players from excessive sun exposure and heat.
Storage Solutions
A dedicated storage area for equipment, like nets, paddles, and pickleballs, can be useful in keeping your court organized and clutter-free. Consider adding hooks or shelving to nearby walls or fences, or installing a small storage shed or lockbox.
Personalizing Your DIY Pickleball Court
Embrace the opportunity to personalize your DIY pickleball court by adding unique touches that represent your style, such as your favorite colors, logos or patterns painted onto the playing surface or fencing. Personalization can make your court feel even more customized to your preferences and increase your enjoyment of the game.
In conclusion, building a DIY pickleball court requires proper planning, execution, and maintenance but can provide countless hours of enjoyment and gameplay. With this complete guide, you are now equipped with the knowledge to make your vision for the perfect pickleball court come to life. Remember to always prioritize safety during construction and play, and most importantly, have fun!
Surface Material Attributes and Considerations
Additional factors to take into account when choosing your court’s surface material include cost, performance attributes, and necessary maintenance. Each material has its own advantages and disadvantages, which we’ll explore in the following section.
Asphalt
Asphalt is a popular choice for DIY pickleball courts due to its low cost and ease of installation. However, asphalt courts may require more frequent maintenance to address cracks and surface degradation that can impact players’ experience. Keep in mind that asphalt courts can become quite hot in summer weather, which may affect player comfort and enjoyment during play.
Concrete
Concrete courts offer improved durability and longevity compared to asphalt, with less frequent maintenance needed. However, concrete can be more expensive to install and may provide a harder playing surface which can be taxing on players’ joints over time. The higher cost may be justified by the extended life span of the court and the lower likelihood of surface damage.
Interlocking Tiles
Interlocking tiles offer a quick and easy DIY installation, which can be especially beneficial if you’re working with an existing flat surface. These tiles often provide better shock absorption and more consistent ball bounce compared to concrete or asphalt surfaces. Keep in mind that tile courts may have higher initial costs and require occasional tile replacement if damage occurs.
Preparing for DIY Court Construction
Tools and Supplies
Having the right tools and supplies on hand can greatly influence the success of your DIY pickleball court project. Some additional tools to consider include:
- Shovels and rakes for excavation and leveling
- Level and straight edge for ensuring a flat surface
- Paint rollers, brushes, or sprayers for applying court markings
- Power tools or hardware for installing nets, fences, and other accessories
- Safety equipment such as gloves, eye protection, and proper footwear
Having the proper tools and supplies ensures that you can effectively and safely complete your court construction.
Expert Help and Tips
While DIY court construction can be a satisfying accomplishment, sometimes having a guiding hand can be essential for successful completion. If you’re uncertain about any aspect of the construction process, don’t hesitate to consult professionals or skilled acquaintances. In addition, seeking out advice and tips from online resources, such as articles, videos, or forums, can be incredibly beneficial for refining your understanding and technique.
Safety Measures and Court Etiquette
As you construct and utilize your new DIY pickleball court, it’s essential to establish safety precautions and practice proper court etiquette to ensure everyone’s well-being and enjoyment.
Safety Precautions
Some general safety guidelines to follow include:
- Inspecting the court for any damage or debris before play
- Ensuring all players wear appropriate footwear and gear
- Keeping the court area clear of unnecessary objects and hazards
- Enforcing the “no-dunking” rule to protect both players and nets
Adhering to safety precautions helps protect everyone using the court and can also extend the life of your DIY pickleball court.
Court Etiquette
Maintaining proper court etiquette allows everyone to experience fun, fair, and respectful games. Some key etiquette practices include:
- Clearly communicating with teammates and opponents
- Waiting until a point is finished before retrieving a stray ball or walking onto another court
- Shaking hands or offering a friendly gesture after each game
- Respecting boundaries and space, particularly during competitive play
By fostering a positive environment and upholding court etiquette, you and your fellow players can fully enjoy the DIY pickleball court experience.
FAQs: DIY Pickleball Court
This section aims to address common questions and concerns related to the construction and maintenance of a DIY pickleball court. From understanding the fundamentals to exploring in-depth tips, these answers provide clear and succinct information to guide you through the process.
What are the official dimensions of a pickleball court?
A standard pickleball court measures 44 feet long and 20 feet wide, including a 2-foot perimeter around the court. It’s also beneficial to have extra space around the court for player movement, spectators, and other elements like fencing or net posts.
What is the best surface material for a DIY pickleball court?
Common surface materials for a pickleball court are asphalt, concrete, and interlocking tiles. Each option has its unique benefits and drawbacks. Asphalt is cost-effective but may require more maintenance, while concrete is better for drainage and durability but may be harder on joints. Interlocking tiles offer an easy installation and adaptability to existing surfaces, but may be pricier.
Do I need to obtain permits to build a DIY pickleball court?
Before starting construction, check with local city or county officials to ensure compliance with zoning laws and obtain any necessary permits or special permissions that may be required.
What is the appropriate orientation for my DIY pickleball court?
It’s recommended to orient your court in a north-south direction to minimize sun glare and shadows that could impact gameplay. Avoid east-west orientation as it may cause one player to face direct sunlight during certain times of the day.
How do I determine if my location has adequate drainage?
Choose a location with a slight slope (1% grade) to facilitate drainage during rainfall. The slope should descend lengthwise from one end to another, with a maximum height difference of 6 inches between the high and low sides.
What type of paint or tape should I use for court markings?
Use paint or tape designed specifically for court markings to ensure a professional appearance and accurate gameplay. Follow manufacturer guidelines for proper application and durability.
How tall should the pickleball net be?
A regulation pickleball net should be 36 inches tall at the sidelines and 34 inches tall at the center.
What kind of fencing materials can I use for my court?
Common fencing materials include wood, chain-link, and vinyl. Each offers different levels of durability, aesthetics, and cost. Consider factors such as maintenance, appearance, and budget when making your decision.
Do I need to install lighting for my court?
Installing lighting is optional but can significantly enhance the playing experience during evening hours. Proper lighting should provide even illumination while minimizing shadows and glare. LED lights are an energy-efficient and environmentally friendly option.
How can I personalize my DIY pickleball court?
Add personal touches such as favorite colors, logos, or patterns painted onto the playing surface or fencing. Personalization can make your court feel more customized and increase your enjoyment of the game.
What maintenance tasks should I perform to keep my court in good condition?
Regular maintenance includes cleaning the surface, checking for cracks, and repainting lines as needed. Proper maintenance will prolong the life of your court and consistently provide an enjoyable playing experience.
Are there any special tools or equipment I might need for my DIY court project?
Some additional tools to consider include shovels and rakes for excavation, level and straight edge for a flat surface, paint rollers or sprayers for court markings, power tools for installing nets and fences, and safety equipment like gloves and eye protection.
How can I encourage proper court etiquette among players?
Promote clear communication, respect boundaries, and offer friendly gestures during competitive play. Encourage players to wait until a point is finished before retrieving balls or walking onto another court. By fostering a positive environment, you can ensure enjoyable experiences for everyone using the DIY pickleball court.